Homemade Halloween treats
September 20, 2017

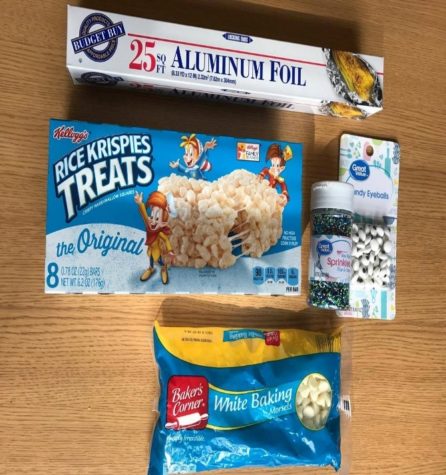
Rice Krispy Monsters:
Ingredients/Materials
-Rice Krispies
-White chocolate chips
-1/3 cup milk
-Food coloring (any color)
-Sprinkles
-Candy eyeballs
-Medium bowl
-Fork
-Foil or parchment paper
Directions:
1. Place chocolate chips into the bowl then melt it in the microwave. Microwave for 30-second intervals, stirring in between each.
2. Stir in milk and a few drops food coloring until the desired color is created.
3. Place a piece of aluminum foil, big enough to spread out the Rice Krispies, on a flat surface.
4. Partially or fully dip the Rice Krispy into the chocolate and place it on the aluminum foil.
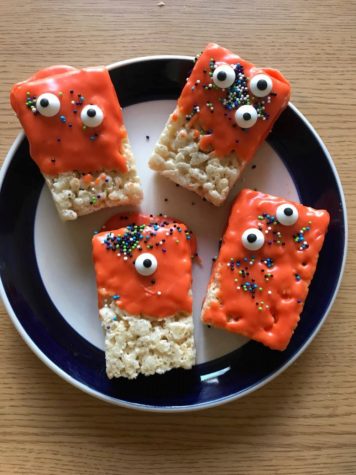
5. Design your monster! Place sprinkles and candy eyeballs however you’d like.
6. Repeat steps 4-5 until all 8 Rice Krispies are finished!
7. Let dry for 10 minutes, then enjoy! Note: Depending on how fast you dip the Rice Krispies, the chocolate may need to be melted again.
These monsters were very sweet but still enjoyable. I enjoyed decorating these. It would be a fun recipe to try with friends or family! They would also make a great snack at a Halloween party!
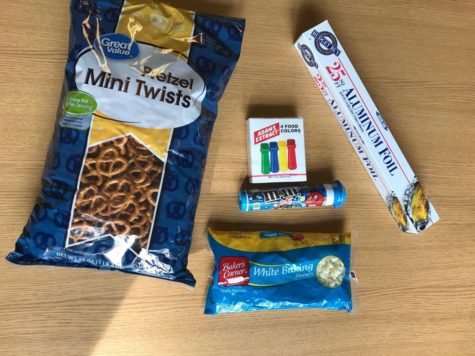
Pumpkin Pretzels:
Ingredients/ Materials:
-Mini pretzels
-Mini m&ms
-White chocolate
-1/3 cup milk
-Aluminum foil
-Small/medium bowl
-Fork
-Food coloring
Directions:
1. Place chocolate in bowl and melt in microwave. Use 30-minute intervals and stir in between each.
2. Stir in milk and food coloring. I used Yellow and Red to make orange.
3. Place a 12×12 inch sheet aluminum foil on a flat surface.
4. Use the fork to fully dip the pretzels into the chocolate.
5. Place the chocolate covered pretzel onto the aluminum foil.
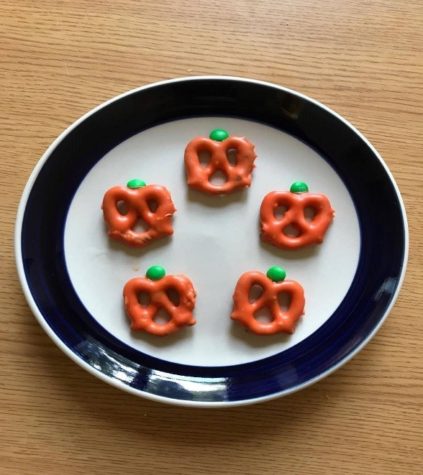
6. Place a green mini m&m on the top.
7. Repeat steps 4-6 until all pretzels have been coated.
8. Let sit for 10 minutes then enjoy!
These adorable pumpkins were delicious on the day that they were made!
Unfortunately, they do not keep long, as they were a bit stale the next day.
I would recommend serving them the same day that they are made! The combination of sweet and salty flavors created a delicious snack.
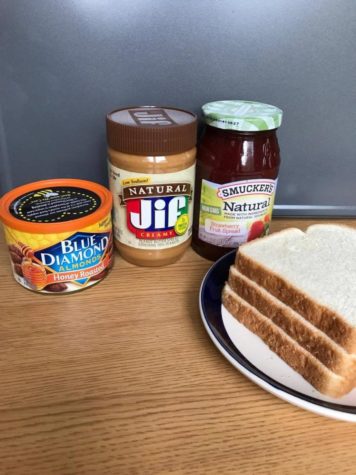
Peanut butter fingers:
Ingredients/ Materials:
-Bread
-Peanut Butter
-Strawberry Jelly
-Almonds
-Rolling pin (optional)
-Plate
-Knife
Directions:
1. Remove the ends of each slice of bread.
2. Place one slice onto the plate and roll it out with the rolling pin to flatten. If you do not have a rolling pin, you can use your hands to flatten the bread.
3. Spread a thin layer of peanut butter on the bread.
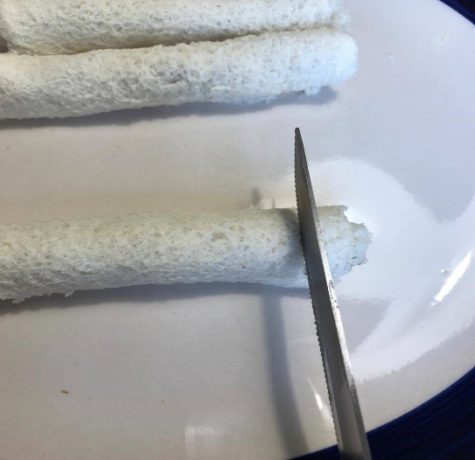
4. Roll it up.
5. Now we will shape this into a finger. Make the cuts depicted below.
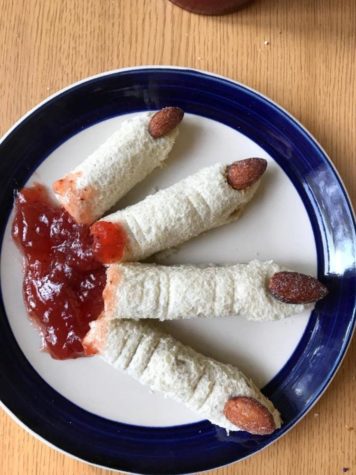
6. Take an almond and place a small amount of peanut butter on it to help secure it to the finger
7. Use your knife and make indents on the finger to create the effect of knuckles. Reference the completed photo for suggestions on where to make the indents.
8. Repeat steps 2-7 with the remaining pieces of bread.
9. Arrange the fingers on a plate for serving. Place a few table spoons of jelly on to the ends (the side without a nail) of the fingers.
10. Enjoy!
Personally, I enjoyed making this snack. It is a twist on the classic peanut butter and jelly sandwich.